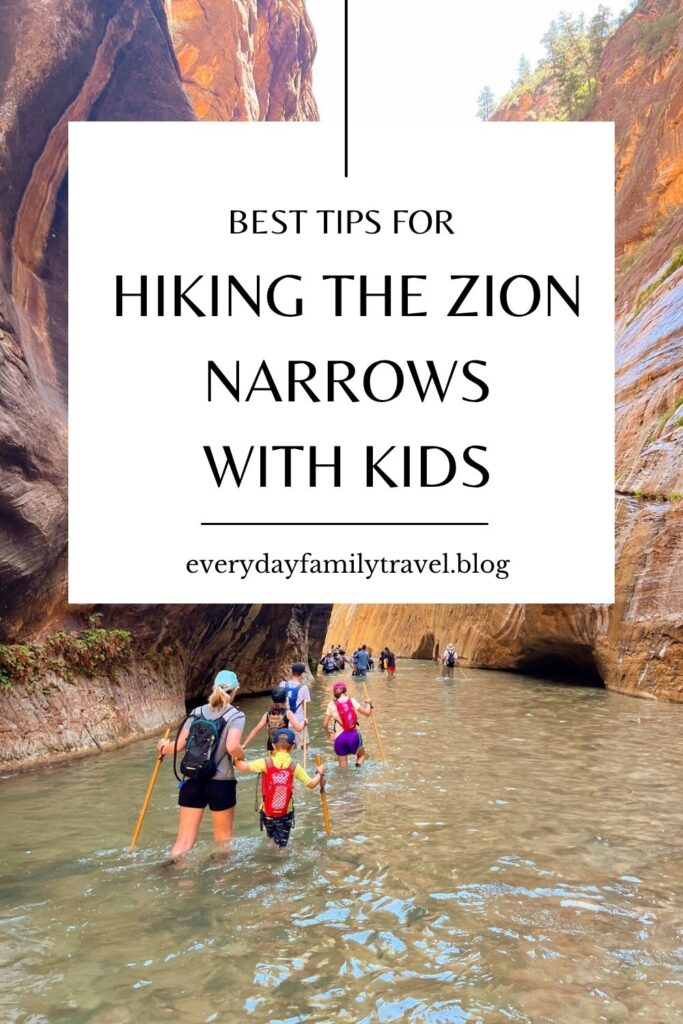
The Complete Guide to Hiking the Narrows with Kids

The Narrows has been on my bucket list for years.
Something about those towering canyon walls and the idea of hiking through a river just felt so magical and different—and when we recently planned our family trip to Southern Utah, I made it the top priority of our itinerary.
Spoiler: It absolutely lived up to the hype.
In fact, hiking the Narrows ended up being my favorite part of our whole trip. It was beautiful, dreamy and just plain fun—something I’ll never forget doing with my kids.
But I also knew going into it that this wasn’t your typical family hike.
You’re literally walking in water, miles into a slot canyon with unpredictable terrain (and temps!).
So before we went, I did a ton of research to make sure we were as prepared as possible—and I’m so glad I did.
In this post, I’m sharing everything I wish I had known ahead of time: what to expect, how to prepare, what you’ll need to bring (especially with kids in tow), how to get to the trailhead, and all our best tips to help you have an unforgettable experience, too.

What is The Narrows?
The Narrows is one of the most iconic hikes in Zion National Park—and for good reason. Instead of a typical dirt trail, you’ll be hiking through the Virgin River, surrounded by 1,000-foot canyon walls.
This out-and-back trail lets you go as far as you’re comfortable before turning around, and even if you don’t make it very far, it’s totally worth it.
If you’re envisioning a peaceful stroll, it’s worth knowing that this is more of a wade-climb-splash kind of hike.
You’ll be walking in water the entire time—sometimes ankle-deep, sometimes waist-deep—and navigating over slippery rocks with uneven footing. It’s adventurous, but doable for families with some preparation.
Here’s a quick breakdown to give you an idea of what to expect:
| 🥾 Type of Hike | Out-and-back river hike |
|---|---|
| 📍 Trailhead | Temple of Sinawava (Shuttle Stop #9) |
| 📏 Distance | Up to 9 miles round trip—go as far as you like |
| ⏱ Duration | 3–6 hours for families (we did about 4!) |
| 💪 Difficulty | Moderate/Hard (due to walking in water + rocky terrain) |
| 👶 Kid-Friendly? | Yes—for ages 5+ with good footwear and supervision |
| ⭐ My Rating | ★★★★★ (Unforgettable adventure!) |
| ⭐ My Kids’ Rating | ★★★★★ (“So fun but also kinda cold!”) |
| 💦 Water Depth | Usually ankle to knee, can be deeper in spots |
| ❗ Important to Know | Flash flood risk—check conditions before you go |
*Disclaimer: Some of the links in this post are affiliate links. This means if you click on the link and purchase the item, I will receive an affiliate commission at no cost to you. All opinions remain my own. See our privacy policy for more information.
What to Expect on the Trail
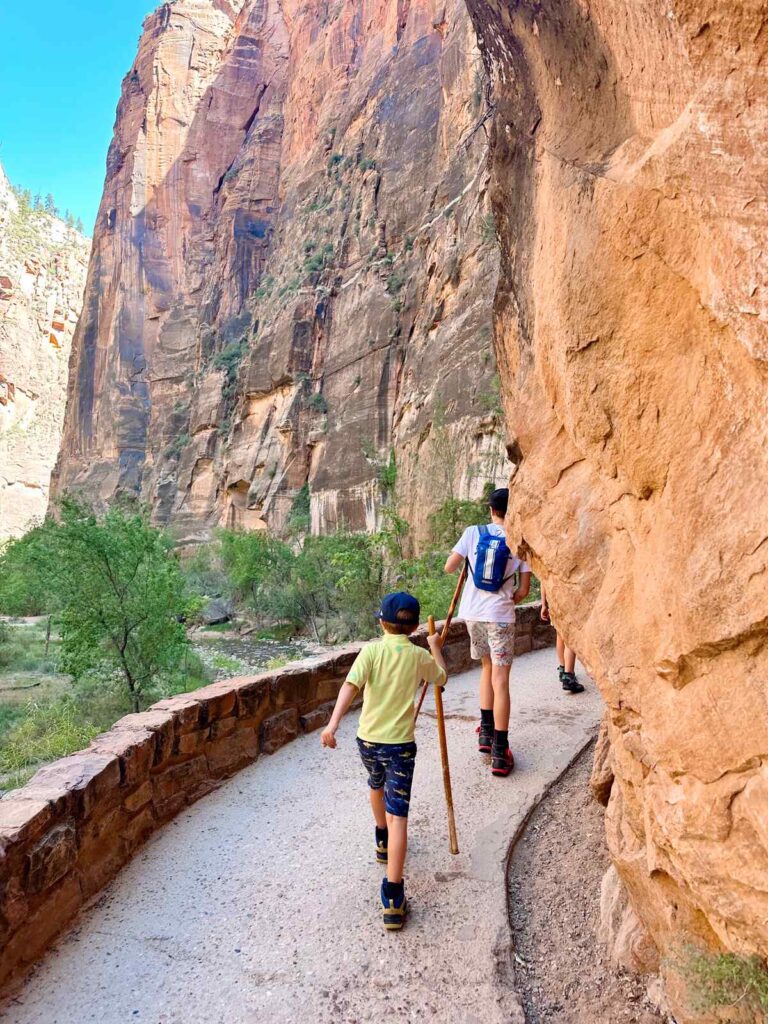
Before you even step into the river, you’ll walk one mile along the paved Riverside Walk to get to the start of the Narrows—and don’t forget, you’ll be walking that same mile back after your hike.
The Riverside Walk is an easy, scenic path, but important to factor into your timing and your kids’ energy levels.
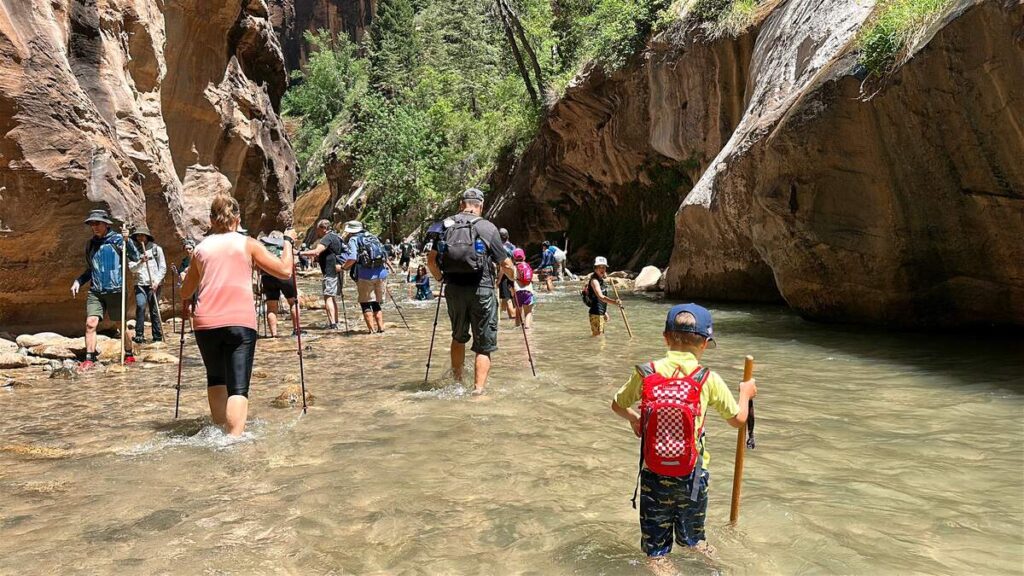
Once you reach the river entry point, the real adventure begins. I was seriously in awe from the first step.
You’ll be walking in water the entire time—sometimes it’s ankle-deep, sometimes it’s up to your waist (where you may have to carry younger kids).
The riverbed is full of slippery rocks, uneven footing, and small dips that can take you by surprise. It’s definitely not your typical trail, but with some preparation and the right gear, it’s totally doable (and really fun!) for families.
We took it very slow and steady.
I held our 7-year-old’s hand the entire way, and each of my kids slipped at least once—luckily, they all handled it like champs and kept going with big smiles.
You’ll definitely want to build in time for breaks. There are plenty of rocky shoreline areas along the way where you can rest, regroup, and grab a snack.
Speaking of snacks—bring plenty of food and water. This is an energy-burning hike, and you may be out there longer than expected.
The water is cold, even in summer, and having the right gear makes all the difference (we’ll talk more about that below).
Without proper footwear and protection, this hike would have been a struggle for our kids—but with the right setup, it became a highlight of our trip.
👀 Want to see our family hike the Narrows? Check out this video! ⬇️
A few more things to keep in mind:
- It’s beautiful from the very first step. You don’t have to go far to feel like you’re deep in nature’s magic. So don’t feel like you’ve missed out if you don’t make it very far!
- There are parts of the trail where you’ll need to carry younger children through deeper or more slippery sections.
- Personally, I’d be hesitant to let any child under 5 walk it on their own. It’s just too easy to fall, and some areas require extra balance and strength.
- We did see a few families with toddlers in hiking carriers, which seemed like a great option if your little one is too small to walk but still wants to be part of the adventure. (Only if you are very experienced and certain you won’t fall yourself!)
- Crowds can be heavy, especially mid-day and in the summer. The earlier you go, the more peaceful and open the canyon will feel.
The Narrows is not a hike you do to “get to the end.” (At least with kids in tow!)
It’s all about the experience. If you go into it with the mindset that slow and steady wins the race, you’ll have an incredible time.
How to Get to the Trailhead
First, you’ll hop on the Zion shuttle from the Visitor Center and ride it all the way to the last stop—Temple of Sinawava. The shuttle ride takes about 40 minutes, so sit back and enjoy the beautiful canyon views along the way.
👉 Pro tip: Use the restroom at the Temple of Sinawava before starting your hike! There are no bathrooms once you’re on the trail.
From the shuttle stop, you’ll follow the Riverside Walk Trail, a one-mile, paved path that winds along the river.
It’s shaded, scenic, and peaceful—truly a beautiful walk that could be a mini-hike on its own. Your kids will probably love spotting wildlife along the way, and it’s stroller-friendly if you’re only doing this part.
The Riverside Walk ends right at the start of the Narrows.
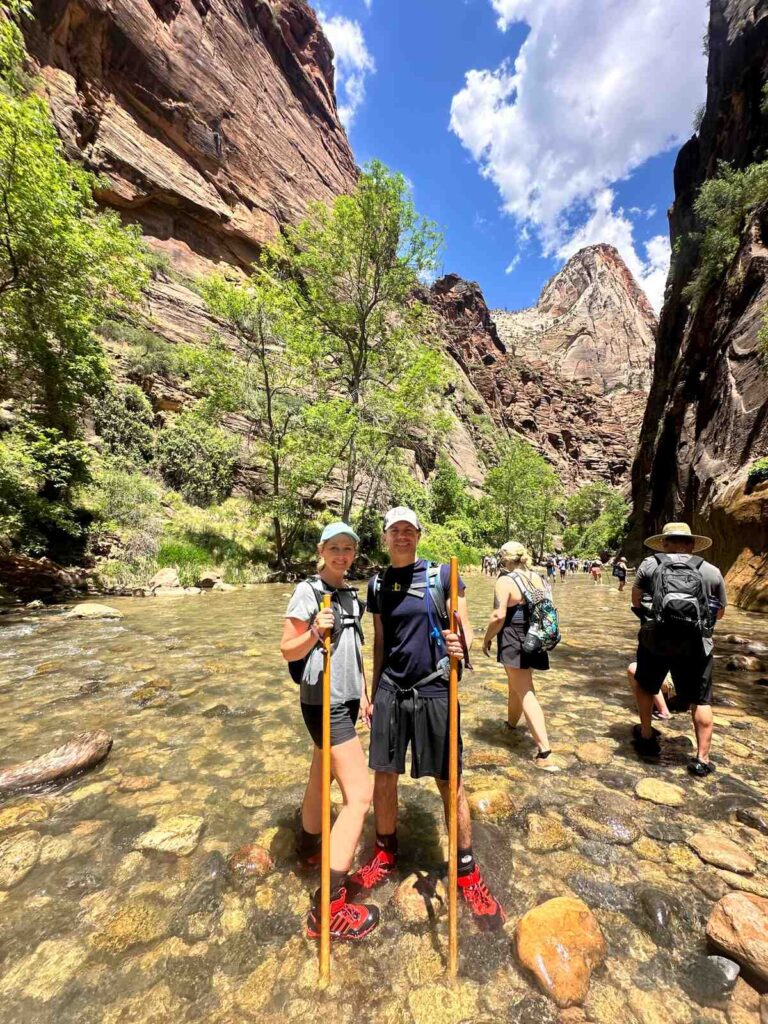
You’ll come to an open area with stone steps, benches, and a small overlook—this is where you’ll step down into the river and officially start the Narrows hike.
It’s easy to spot, and you’ll see other hikers gearing up and heading in.
Must-Have Gear
Having the right gear truly made all the difference for our family when hiking the Zion Narrows. With cold water, slippery rocks, and a long day on our feet, being prepared kept the experience fun—and safe—for everyone.
Here’s what we brought:
✅ Gear We Highly Recommend
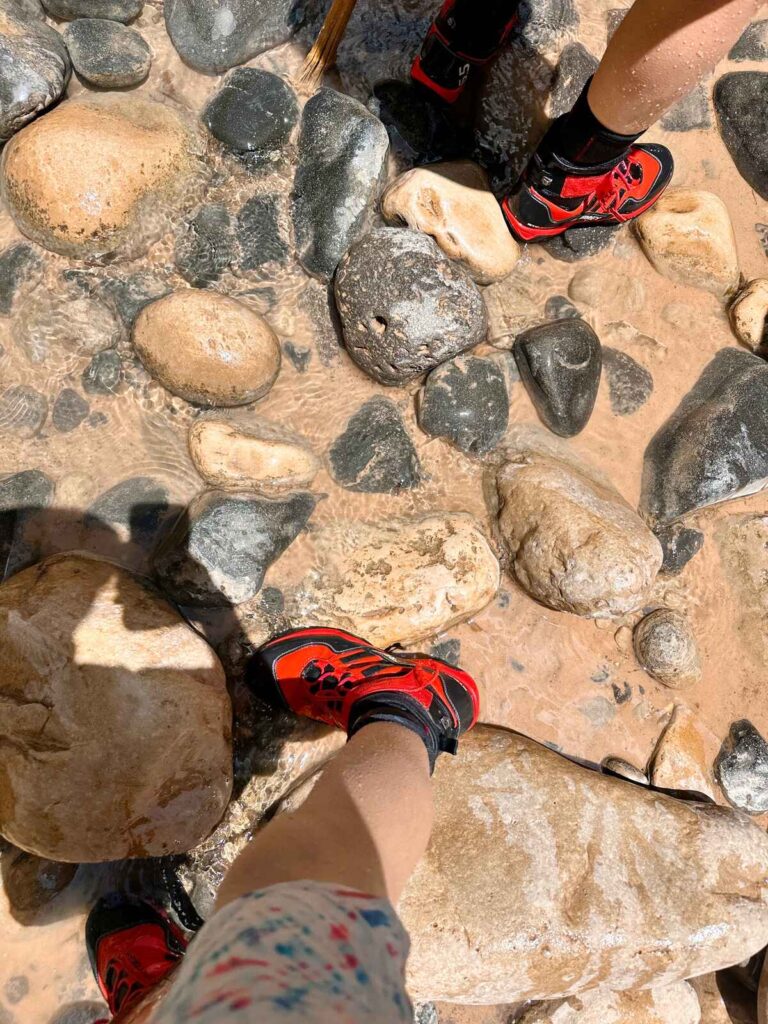
- Waterproof boots, neoprene socks, and hiking poles
We rented these from Zion Outfitters, located right by the Visitor Center—and they were 100% worth it.
Our kids had no problem navigating the river in these boots, and the hiking poles gave them extra balance and confidence on slippery rocks.
We saw plenty of people trying to hike without walking sticks, and even adults were falling left and right. - Dry bibs (optional in cooler months)
Zion Outfitters also rents dry bibs—basically waterproof overalls—which are a great option if you’re hiking in spring or fall when the water is extra chilly. - Swimsuits or water-friendly clothes for kids
Our kids wore swimsuits and rash guards, but anything quick-drying and comfortable works. Just make sure it’s something you don’t mind getting wet! - Jackets
If you’re going first thing in the morning, you may want jackets. The Zion canyon can be cool and shaded. - Dry bag
Handy for keeping extra clothes, snacks, or electronics dry just in case something gets submerged. 👉 This one gets amazing reviews. - Waterproof phone pouch
We each used a waterproof pouch that hung around our neck or clipped to our packs so we could take photos without risking our phones. 👉 We used these phone pouches. - Hydration packs for each family member
We skipped the bulky water bottles and used hydration backpacks instead. In fact, we used these every day on our trip to Utah! The ones our kids used were smaller and lightweight, while ours had a little extra room for a few other essentials.
👉 This is the hydration pack our kids used.
👉 This is the hydration pack we used.
🧴 Other Must-Haves
- Small first aid kit (for scrapes, blisters, etc.)
- Sunscreen
- Hats
- Travel-size hand sanitizer
- AllTrails app with downloaded map
You won’t have cell service in the canyon, so download the trail map ahead of time if you want to track your route as you go.
A little prep goes a long way in making this adventure safe, comfortable, and enjoyable—especially when hiking with kids!

Download our FREE printable Zion packing list here! ⬇️
Tips for Hiking the Narrows with Kids
🕒 1. Pick Up Gear the Day Before
You can get sized and pick up your rental gear from Zion Outfitters starting at 3:00 PM the day before your hike—at no extra charge. This is a game-changer because it lets you get an early start the next morning without waiting in line.
🚌 2. Check the Shuttle Schedule & Start Early
The Narrows trailhead is only accessible by shuttle, so be sure to:
- Check the current shuttle schedule in advance. You can do that here.
- Aim for one of the earliest shuttles of the day.
During peak season, shuttle lines can get long quickly, and starting early means cooler temps, fewer crowds, and more space on the trail.
🚻 3. Use the Restrooms at Stop #9
The last restroom before your hike is at Temple of Sinawava (Shuttle Stop #9). Everyone should take a bathroom break here—there are no facilities once you start the Riverside Walk or the Narrows.
🐢 4. Go Slow—Really Slow
Even as adults, you’ll find yourself going slower than you expect. The footing is slippery and uneven, and you’ll be walking upstream the whole way out. Expect to move at a cautious pace and build in lots of time for breaks.
✋ 5. Hold Hands with Younger Kids
I held our 7-year-old’s hand almost the entire time. It’s easy to slip, and some parts have sudden dips or stronger currents.
🧑🦰 6. Have a Grown-Up Lead the Way
Let an adult go first so kids don’t accidentally step into a deeper section without warning. It’s hard to judge depth until you’re in it, and having someone up front can help guide the safest path forward.
🧃 7. Bring High-Protein, Filling Snacks
You’ll need energy, and so will your kids. Think protein bars, trail mix, nut butter packets, or jerky—snacks that keep everyone fueled and happy.
→ Don’t forget to use your hand sanitizer first, since you’ve been in the river! There are usually at least low levels of bacteria in the water.
🔋 8. Don’t Schedule Anything Else That Day
Between waiting on the shuttle, hiking, snack breaks, and the walk back, The Narrows will take up most of your day. Plus, you’ll be physically wiped afterward. Trust me—just plan for rest and maybe an early dinner.
💧 9. Check Conditions the Day Before (and Morning Of)
This is so important:
All of these change daily. If there’s any risk of flash flooding, don’t go. It’s not worth it. You can always reschedule.
You can read more about safety precautions here.
📅 10. Schedule the Hike Early in Your Trip
Since conditions can change last-minute, try to plan your Narrows hike early in your Zion itinerary. That way, if you need to shift things around due to flow rate or weather, you’ll have flexibility.
Only have one day? The Narrows should still be at the top of your must-see spots!
🌀 11. Turn Around Before You get Tired
On the way out, you’ll be hiking against the flow of the river, which means more resistance and effort. The bright side? Your return trip is with the flow, so it’ll feel a bit easier.
Nevertheless, you still want to turn around well before you crew gets tired. Keep in mind, you have to walk as far back as you hiked out.
Plus, that one-mile Riverside Walk you took to get to the Narrows? You’ll have to walk that again as well to return to the shuttle stop.
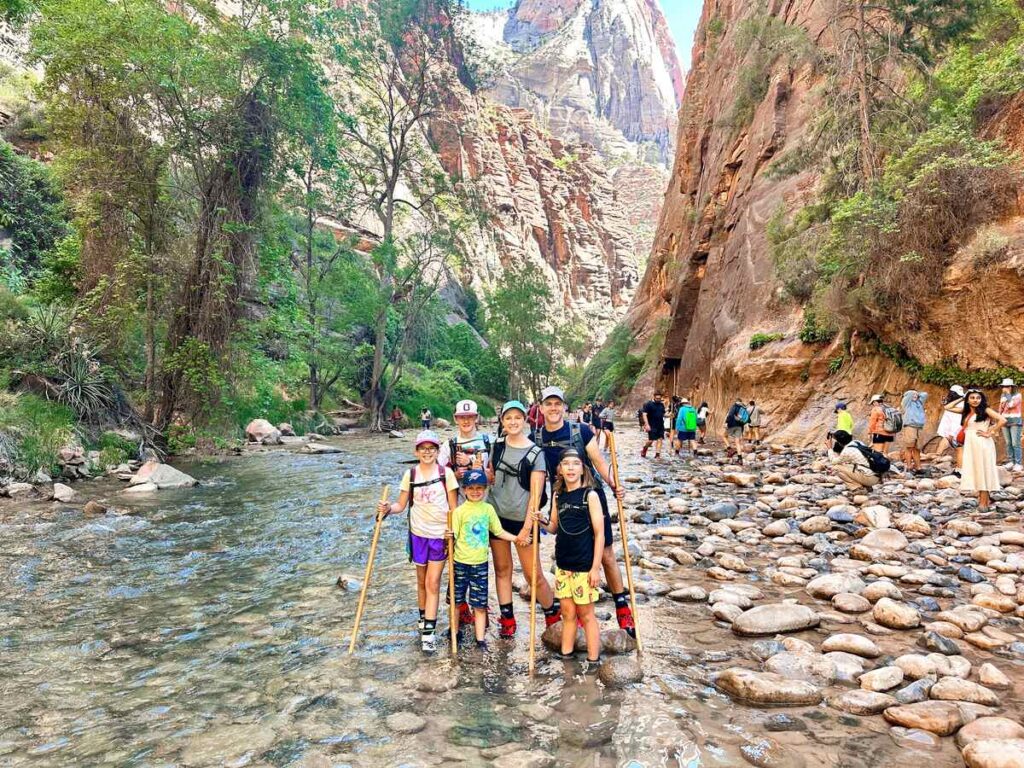
📸 12. Take a Family Photo at the Trailhead
There are plenty of stunning photo ops on this hike, but make sure you pause to take a family photo right at the trailhead. This ensures you have a great shot before someone gets hurt or has a meltdown!
FAQ’s
Is it safe for kids?
You know your kids best! It’s definitely a longer hike on uneven terrain, so keep that in mind and make sure to follow all safety precautions listed by the National Park Service.
What’s the minimum age you recommend?
I wouldn’t take a child under 6 years old, unless they are used to long hikes.
Is the water cold?
Yes! Even in the summer. You’ll want to be sure you have proper protection, especially in the cooler months.
How long does it take?
That all depends on how far you decide to hike! It could be anywhere from 3 to 12 hours. You’ll also want to take into consideration waiting in line for the shuttle, riding the shuttle approximately 40 minutes, and walking the Riverside Walk Trail to get to the Narrows trailhead.
Download our FREE printable Zion packing list here! ⬇️
Is it Actually Worth it?
Hiking the Narrows with kids is one of those unforgettable experiences that your family will always remember.
Yes, it takes some preparation—but it’s absolutely worth it.
With the right gear, a flexible mindset, and plenty of snacks, this iconic hike can be a fun and empowering adventure for the whole family.
I hope this guide helps you feel confident and excited as you plan your own Narrows experience. And if you have any questions, feel free to reach out in my free Facebook group—I’d love to help!
More Southern Utah Resources
- The Ultimate Zion National Park Packing List
- Our Complete Guide to Hiking the Narrows with Kids
- Our Coral Pink Sand Dunes Sandboarding and Sledding Adventure
- 3 Days in Zion National Park: An Epic Itinerary for Families
- The Best Way to Spend One Day in Bryce Canyon National Park
- Our Favorite Hiking Gear for Kids {17 Must-Haves}
- Epic Kid-Friendly Southern Utah Road Trip Itinerary
- The Best Way to Spend One Day in Zion National Park
- Where to Stay Near Zion National Park with Kids
- How Many Days Do You Really Need in Bryce Canyon?